Calculations and Preparations
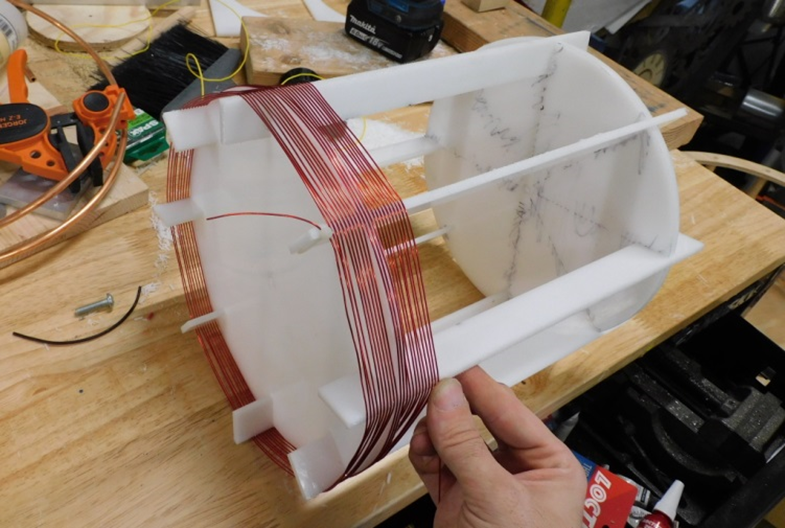
Starting guide: wind a coil with a height-diameter ratio around 1:1 with an air-gap between turns of at least half the wire diameter.
Calculating Wire Length https://Hakasays.com/DollardTeslaCoilCalculator
or:
297/F = L
F = frequency in Mhz
L = wire length in feet
Note that due to dielectric effects, a Tesla Extra coil has a higher frequency than is predicted by normal 1/4 wavelength formulas. We call this the ‘velocity factor’ and it is directly related to the height-to-width ratio of the coil.
Framing Material Selection
- Best: UHMW, HDPE, LDPE, PTFE(Teflon), PP
- OK: Polystyrene
- Meh: Polycarbonate, Acrylic, Epoxies, PVC, Wood

- 3/16″ to 1/4″ thickness works good for coils 3-12in in diameter
- Plastic sheeting is usually sized in 12×12″ sections, so cost-efficient diameters are around 5-5.5″ and 11-11.5″
- White/light plastic have lower loss characteristics
- Material selection has a higher impact at higher frequencies
Wire selection:
The general goal here is to get the lowest resistance practical.
Obviously few people can afford 100ft of 0 gauge copper bus-bar to wind a coil, so compromises must be made. Generally we recommend not going below 20awg though as the loss characteristics begin to compound making a very high Q coil difficult to achieve.
- Silver-coated Teflon wire
- Silicone-coated wire
- Litz wire
- Coax cable can also be used to create a large effective diameter coil by using the outer ground conductor (per Eric Dollard)
- Coax cabling can also be used to create a large effective diameter coil by using the outer ground conductor (per Eric Dollard)
Construction
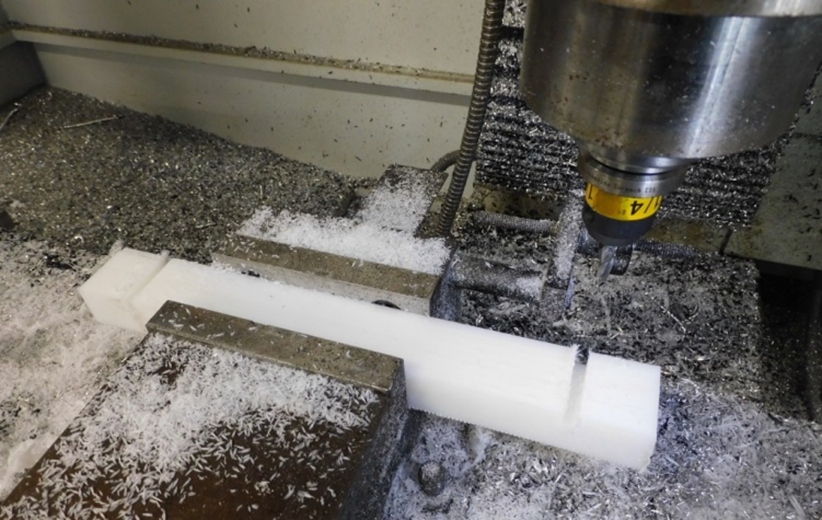
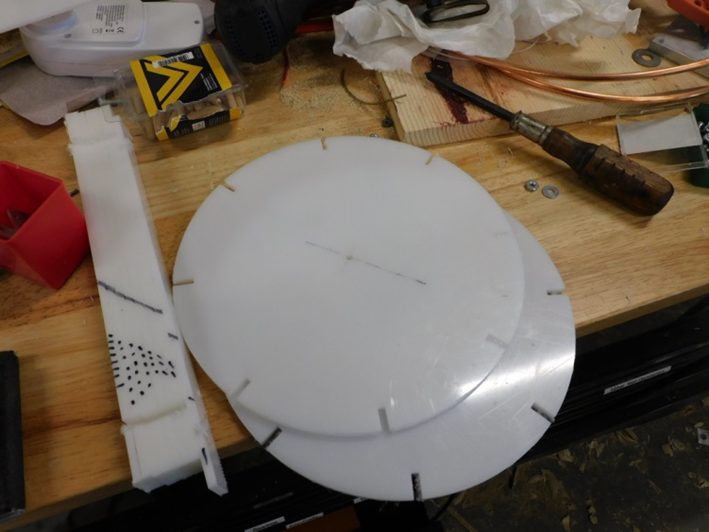
‘Jigsaw method’

Cheapest/simplest tools required:
- Drill + drillbit set
- Jigsaw / router / hand saw
- Hand files



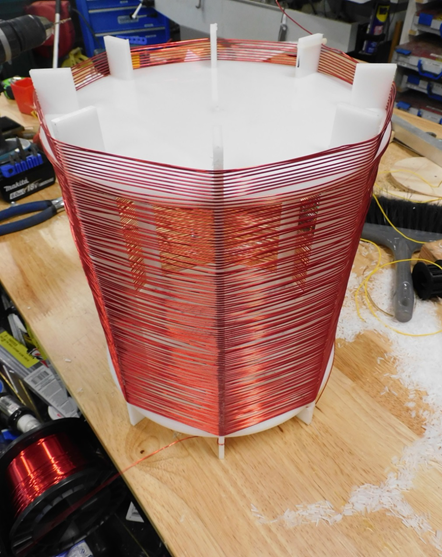
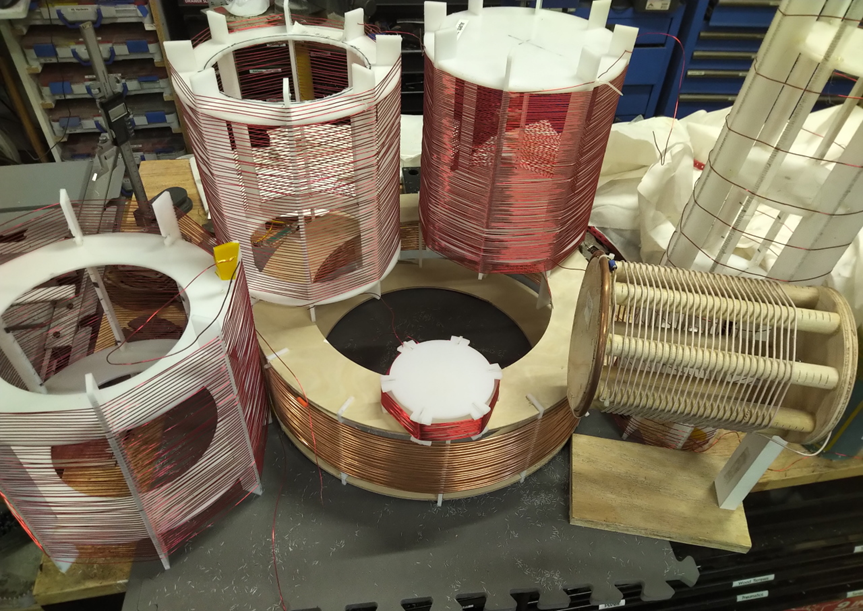
Now you’ve finished your first Tesla Coil. What do I do with it?
Testing and Tuning (coming soon)